Hermes Workspace v2 setup takes 10-15 minutes, and this is the step-by-step. By the end of this post, you'll have Hermes Workspace v2 installed, connected to your Hermes agent, models configured, and your first chat working.
Hermes Workspace Prerequisites
Three things to check before you start.
The first is Hermes installed. If you don't have Hermes, follow How To Setup Hermes Agent first.
The second is deciding between local and Docker. Local is simpler. Docker is siloed but more setup. Most users go local.
The third is picking your model setup. Cloud (Claude, GPT) is easy. Local Ollama is free and private. Either works.
Step 1 — Open Hermes
Use your existing Hermes setup, either CLI or whatever interface you have it in. Workspace assumes Hermes is already running.
Step 2 — Ask Hermes To Install Workspace
In Hermes chat, say "Can you set up Hermes Workspace?" Hermes will guide you through and you'll get options for Local (B) or Docker (A).
Pick B for simplicity unless you have a specific reason to want Docker.
Step 3 — Run The Install
Hermes runs the install command in the terminal. Takes 2-5 minutes.
If it fails, ask Claude Code or Hermes to debug.
🔥 Want my exact Hermes Workspace setup playbook? Inside the AI Profit Boardroom, I share my Hermes Workspace setup, model configs, profile templates, and 30-day road map. Plus 2-hour Hermes course and weekly live coaching. 3,000+ members. → Get the playbook
Step 4 — Open The Local URL
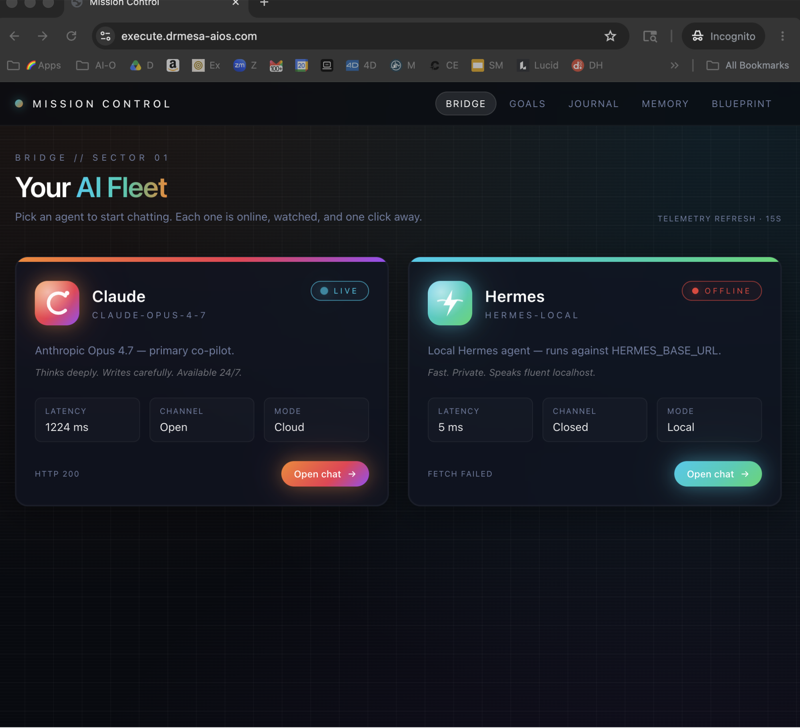
Once installed, Workspace runs on local host. Open the URL in your browser and you should see the Workspace UI.
Step 5 — Connect To Hermes Gateway
If Workspace says "not connected" or "connection error", make sure the Hermes gateway is running and configure Workspace to point at your Hermes setup.
Hermes can help with this if asked directly.
Step 6 — Configure A Model
Workspace needs a model to work. In settings, add a provider (Anthropic, OpenAI, OpenRouter, Ollama local, etc.), paste your API key (or local URL for Ollama), and save.
Common pick is a cloud free tier or local Ollama with Hermes Gemma 4.
Step 7 — Send A Test Message
In the chat panel, type "hello, are you working?" and hit send. You should get a reply.
If you do, you're set up.
Step 8 — Configure Skills
Workspace has 2,000+ skills available. Don't enable all of them — start lean.
The essentials to start with are web search, browser automation, memory, and file operations. Add more as you find specific needs rather than enabling everything upfront.
Step 9 — Set Up Your First Profile
If you want to run multiple agents now or later, create a profile.
Profiles let you have different system prompts per agent, different model assignments per agent, and different skill sets per agent. Configure a "default" profile to start, then add specialised profiles later (e.g. "Researcher", "Writer", "Customer Ops").
Step 10 — Optional: Mobile Access
Workspace is a progressive web app, which means you can install it on iPhone or Android via your browser.
Visit the Workspace URL on your phone, add it to home screen, and use it like a native app. For external access when you're away from home Wi-Fi, set up a VPN or tunnel.
Common Hermes Workspace Setup Issues
There are four issues that come up regularly during setup.
The first is the install failing mid-way. Use Claude Code or Hermes to debug — both communicate with Workspace well.
The second is "connection error" after install. The Hermes gateway isn't running. Start Hermes first, then Workspace.
The third is the model not responding. Check that the API key is valid and the model is loaded.
The fourth is skills not appearing. Restart Workspace after adding skills.
What To Do After Hermes Workspace Setup
Three steps to get the most out of your install.
The first is to test with a real task. Send a real prompt to your agent and check the output quality.
The second is to add a second profile. Specialise — for example, one profile for content and one for research.
The third is to set up Hermes Swarm (optional) for multi-agent workflows on top of Workspace. See Hermes Swarm for setup.
Atomic Chat For Local Models
Hermes Workspace supports Atomic Chat as a way to run local models.
It's useful if you want free local AI, full privacy, or no API costs. The configuration is similar to Ollama (covered in Ollama Hermes).
Setup Time Reality
Honest estimate of the time investment.
Install takes 5-10 minutes. First model config takes 5 minutes. First chat test takes 1 minute. Total is 15-20 minutes for a working setup.
Add 30+ minutes if you're new to terminal and config files.
What Setup Doesn't Include
You set up Workspace, but you don't set up Hermes itself (do that first), specific skills (add after install), multi-agent profiles (configure after setup), or phone access (configure after).
Each layer is incremental rather than bundled into the initial install.
Daily Reality With Hermes Workspace
What it looks like once you're running Workspace daily.
Open Hermes Workspace in your browser, pick a profile, chat with your agent, toggle skills as needed, and manage Kanban tasks. The workflow used to need terminal commands and now lives in a clean UI.
🚀 Want my full Workspace setup + Swarm playbook? The AI Profit Boardroom has my Workspace setup, 2-hour Hermes course, OpenClaw 6-hour course, daily training, weekly live coaching. 3,000+ members. → Join here
FAQ — Hermes Workspace V2 Setup
How long does setup take?
15-20 minutes for a working install.
Do I need to know coding?
No. Hermes can install Workspace via chat.
What if install fails?
Ask Hermes or Claude Code to debug.
Will my old Hermes setup still work?
Yes. Workspace is a UI on top, it doesn't replace Hermes.
Can I install on multiple machines?
Yes. Install once per machine.
Will it work on Linux?
Yes. Workspace runs on Mac, Windows, and Linux.
How much disk space does it need?
A few hundred MB plus model storage.
Related Reading
- Hermes Workspace Overview — what Workspace is.
- Hermes Swarm — multi-agent on top of Workspace.
- Hermes Agent Workspace — broader Workspace overview.
📺 Video notes + links to the tools 👉
🎥 Learn how I make these videos 👉
🆓 Get a FREE AI Course + Community + 1,000 AI Agents 👉
That's the Hermes Workspace v2 setup — 10 steps and you're running Hermes from a real UI.